Order blocks (OBs) represent a critical concept in advanced market structure analysis, reflecting areas where institutional buying or selling interest has created a footprint in price action. Unlike simplistic interpretations that label every opposite candle as an order block, a rigorous approach requires understanding displacement, structural breaks, liquidity, and the interplay with other price inefficiencies such as fair value gaps (FVGs). This article offers a comprehensive exploration of bullish and bearish order blocks, their identification, confluence factors, limitations, and practical application illustrated through scenario walkthroughs.
Defining Bullish and Bearish Order Blocks
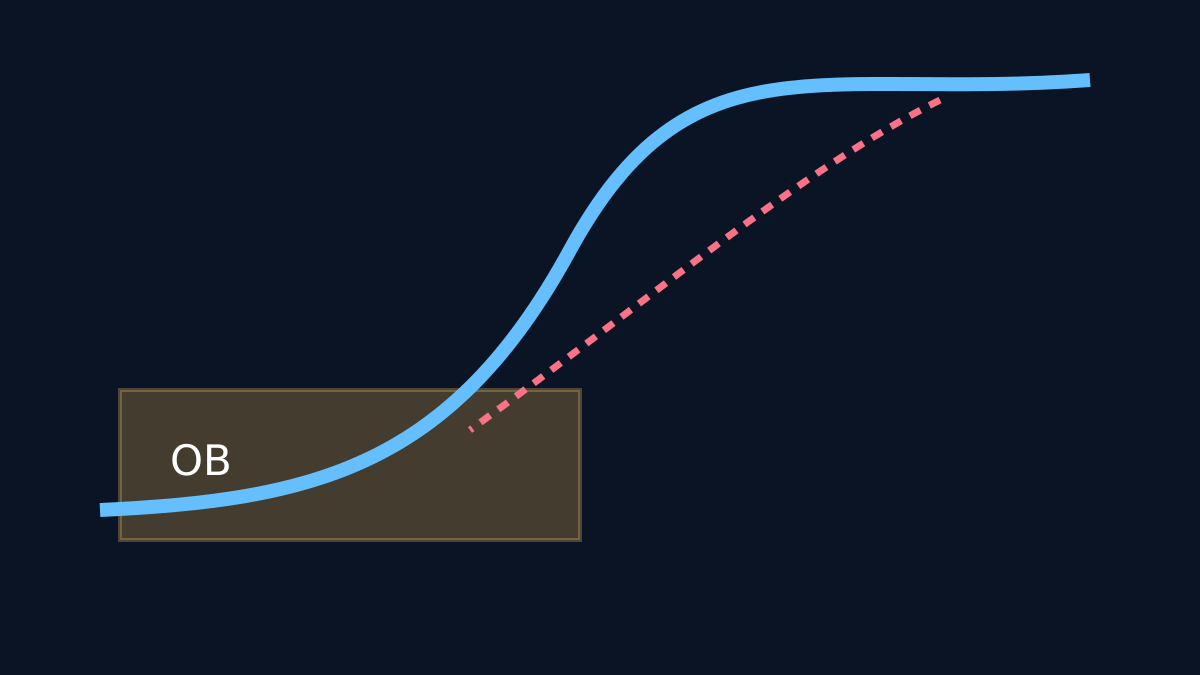
At its core, an order block is the last bearish candle before a significant upward price displacement (bullish OB) or the last bullish candle before a significant downward displacement (bearish OB). This candle represents the institutional order flow that absorbed liquidity and initiated a structural move. Crucially, not every candle opposite to the prevailing trend qualifies as an OB; the defining characteristic is the structural break and subsequent price displacement.
Structural Break and Displacement
A structural break occurs when price decisively moves beyond a previous high or low, signaling a shift in market sentiment. The order block is identified as the candle preceding this break, marking the zone where liquidity was absorbed. The displacement is the strong directional move following the OB, confirming institutional participation.
Liquidity Context and Body versus Wick Conventions
Understanding liquidity is essential for precise OB identification. Institutions target liquidity pools often found around swing highs/lows or stop-loss clusters. The order block candle’s body is generally considered the primary zone of interest, as it reflects the actual transaction range where orders were filled. However, some traders also consider the wicks to account for temporary price rejections or testing of liquidity.
Conventionally, the body of the order block defines the zone, with the wick acting as a secondary reference. This distinction aids in differentiating fresh (unmitigated) order blocks from those that have been partially or fully consumed through price retracement.
Fresh versus Consumed Order Blocks and Mitigation
A fresh order block is one that price has not yet revisited or only minimally retraced, preserving its potential as a liquidity zone for future price reactions. Conversely, a consumed order block has been revisited and partially or fully filled, reducing its significance.
Mitigation refers to the process where price returns to an OB zone and absorbs remaining liquidity, often leading to a pause or reversal. Recognizing mitigation is crucial for assessing the validity and strength of an order block.
Premium and Discount Zones
Order blocks also relate to the concepts of premium and discount zones within market structure. A price trading above a bullish order block’s body is considered in a premium zone, while trading below it is a discount. For bearish order blocks, the inverse applies. These zones help traders contextualize price relative to institutional interest areas.
Fair Value Gap (FVG) Confluence
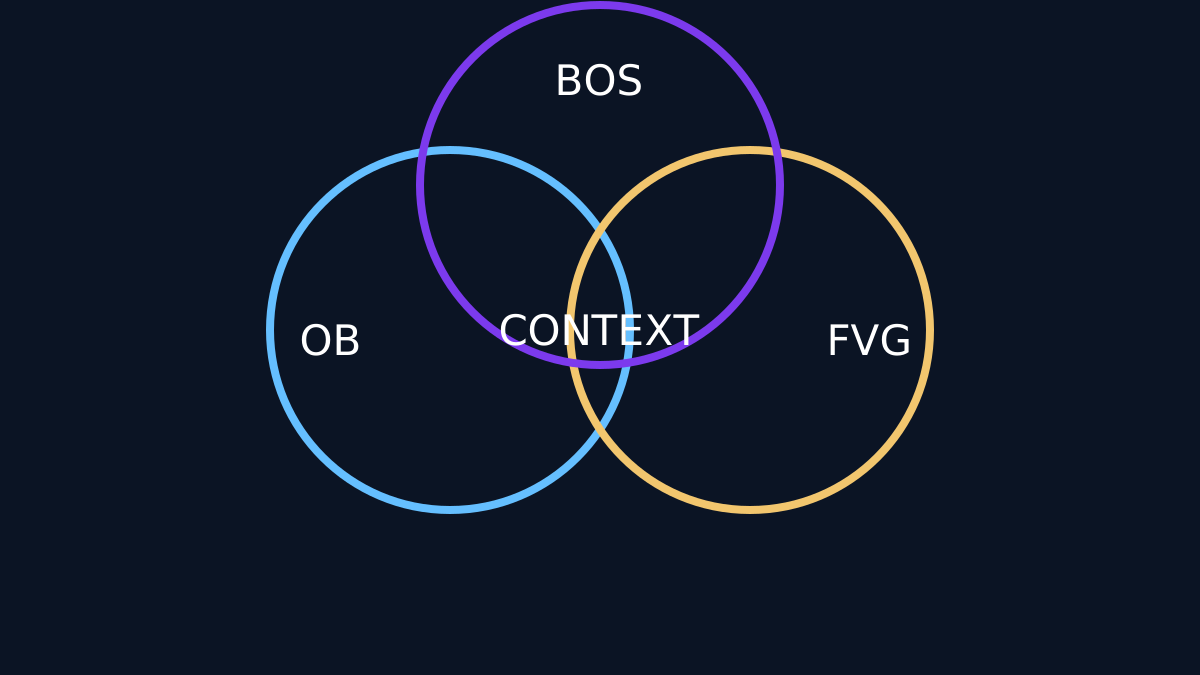
Fair value gaps represent price inefficiencies where rapid moves leave unfilled liquidity zones. When an order block overlaps or aligns with an FVG, the confluence strengthens the potential for price reaction. This synergy is often exploited in advanced trading strategies to identify high-probability areas.
Invalidation Criteria
An order block is invalidated if price breaches the zone decisively without a meaningful reaction, indicating the institutional interest has been exhausted or the market context has shifted. For bullish OBs, a close below the body or wick zone beyond a predefined threshold suggests invalidation; for bearish OBs, a close above the zone serves similarly.
Scenario Walkthroughs
Scenario 1: Bullish Order Block Formation and Validation
Consider a market in a downtrend that forms a bearish candle followed by a strong bullish candle breaking the previous high. The bearish candle preceding this break is identified as a bullish order block. Price later retraces to this zone (body of the bearish candle) and finds support, confirming mitigation and validating the OB. The presence of an overlapping FVG zone further strengthens this support, leading to a continuation of the upward move.
Scenario 2: Bearish Order Block and Invalidation
In an uptrend, a bullish candle is followed by a strong bearish candle breaking below the prior low. The bullish candle before this break is the bearish order block. Price revisits this zone but closes decisively above it without significant rejection, invalidating the OB. This suggests the selling pressure has dissipated, and the market may resume the uptrend or enter consolidation.
Common Errors and Limitations
- Mislabeling every opposite candle as an OB: This dilutes the concept and leads to false signals.
- Ignoring structural breaks: Without a clear break and displacement, the candle cannot be a valid OB.
- Overreliance on wicks: While wicks provide context, the body remains the primary zone.
- Neglecting liquidity context and confluence: OBs are more reliable when combined with other structural elements like FVGs.
Further Reading
For deeper insights into related concepts, explore our articles on Fair Value Gaps and Market Structure Breaks.